Last Updated on November 8, 2025 by George Pavlopoulos
Ever since my favorite travel camera, the Ricoh GR II, was damaged during a trip, I’ve wondered what a decent alternative would be. Versatility matters the most to me when I’m on the road, even though I don’t want to sacrifice image quality. Despite looking like an obvious choice, it took me quite some time to start using an iPhone for travel photography.
A camera becoming unusable during a journey is a nightmare and a reality check. How much should you trust one single piece of equipment? It doesn’t matter if you are on a professional trip or just traveling for fun. The last thing you want is to be left without a camera and have nothing to shoot photos with. That’s what happened to me in Bergen, but luckily it was during the last hours of my stay,
When I returned home, I evaluated my options. Back then, I didn’t own an iPhone, but I had several decent cameras to bring on a journey. But here’s the thing: none of them was lightweight. In the end, I decided to start working with my Sony a6300. The Sony was definitely bulkier than the Ricoh; however, the images turned out great.
It was only a year later that I decided to buy an iPhone. Despite being in the Apple ecosystem for over a decade (MacBook Pro, iPad), I never owned an iPhone. But after purchasing one, I started shooting constantly with it. Travel photography with an iPhone reminded me how much I enjoyed a versatile all-around camera.
Still, one question remained to be answered: could I really use an iPhone for travel photography?
*Some links are affiliate links. It means that if you purchase something, I might earn a small commission at no additional cost to you.
iPhone for travel photography: what I enjoy the most
If it’s not your first time on this blog, you probably know that before reviewing any product, I need to work with it for a while. I’d never write an opinion article about something that I used for a week or two. Exactly like with the Ricoh GR II or my Polaroid Cameras, I prefer to use them for months and under a variety of circumstances.
The iPhone 15 Pro Max that I bought was no exception. I’ve been using it for more than a year for my travel photos, and below I will share an honest opinion and plenty of my photos.
The iPhone is always with you
This one is hands down the best thing. From a photographer’s point of view, this is actually a direct translation of versatility. The fact that your phone is always in your pocket means you can shoot photos anytime. That’s what I appreciated in my Ricoh, and that’s also what discouraged me from packing any other camera in my bag.
They rightly say that the best camera is the one you have with you. Bulky DSLRs are not for me. Although I use them for professional photo shoots, when it comes to travel blogging or simply traveling for fun, I want to have with me the best lightweight option. And as I will explain further down this article, the iPhone reminded me how fantastic it feels to have a capable camera in your pocket.
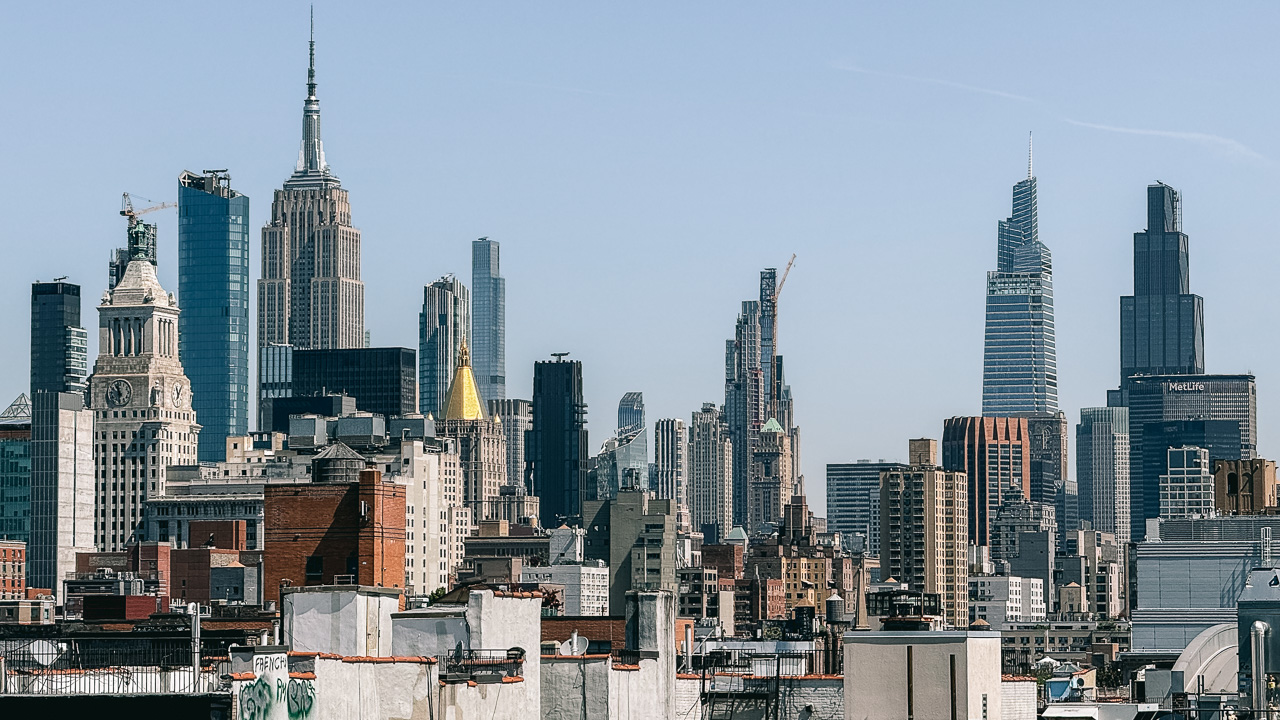
High-resolution images and RAW work great for iPhone travel photography

The lens of the iPhone resembles a bit the kit lenses of DSLR and mirrorless cameras. It comes with a wide-angle lens, a regular 24mm lens, and 2x and 5x telephoto lenses. Practically, I have everything I need in my pocket. Beyond 5x, the digital zoom doesn’t produce high-quality images, but they are still okay for a quick snapshot or for capturing something you need to remember, though probably not to share.
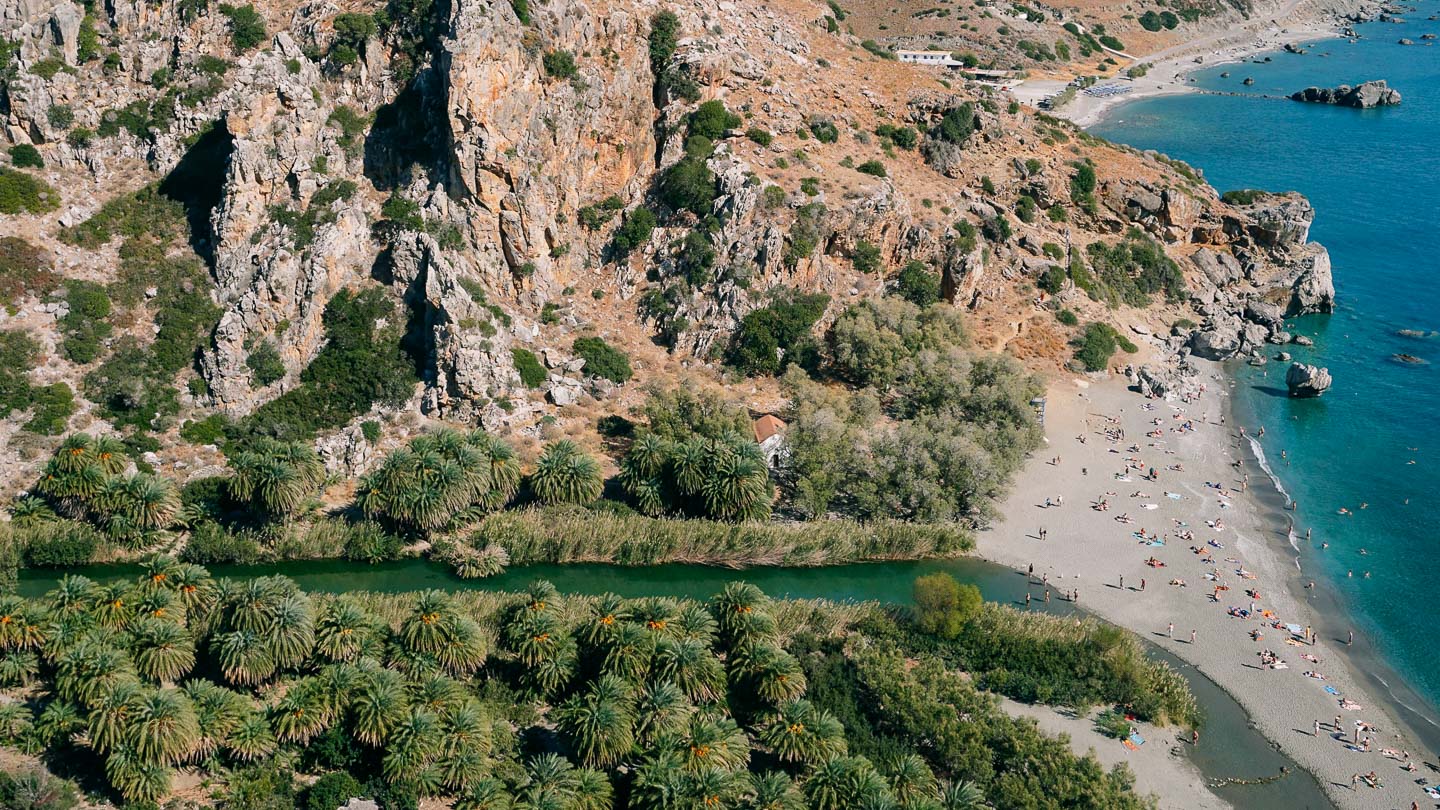
Most of the time, I use the primary lens, but for more dramatic landscapes, I’d also use the wide-angle lens for iPhone travel photography. Nonetheless, after using it for 1 year, I never came across a situation where I wished I had more focal lenses.
On top of all that, the RAW gives me plenty of options for heavy post-processing, although I’m not usually doing that. As you will read later, I make minor corrections to my photos and never use Photoshop. Photos should always present what the photographer saw, including imperfections and not a made-up reality.
Last but not least, although it’s not perfect as a video camera, the 4K iPhone videos are equally great.
Sometimes you need a discreet camera
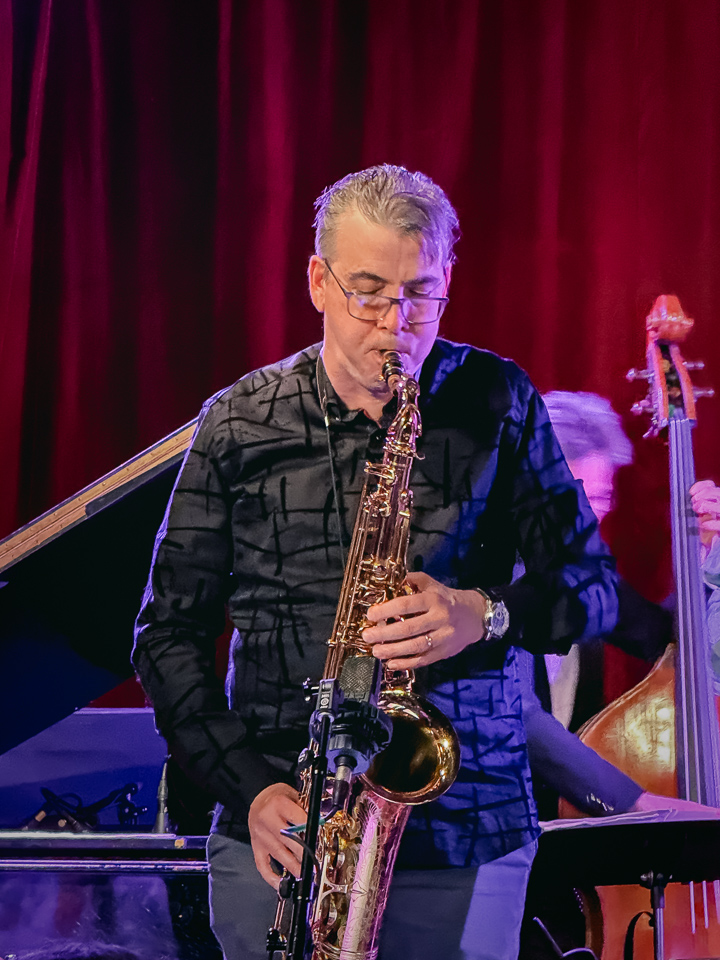
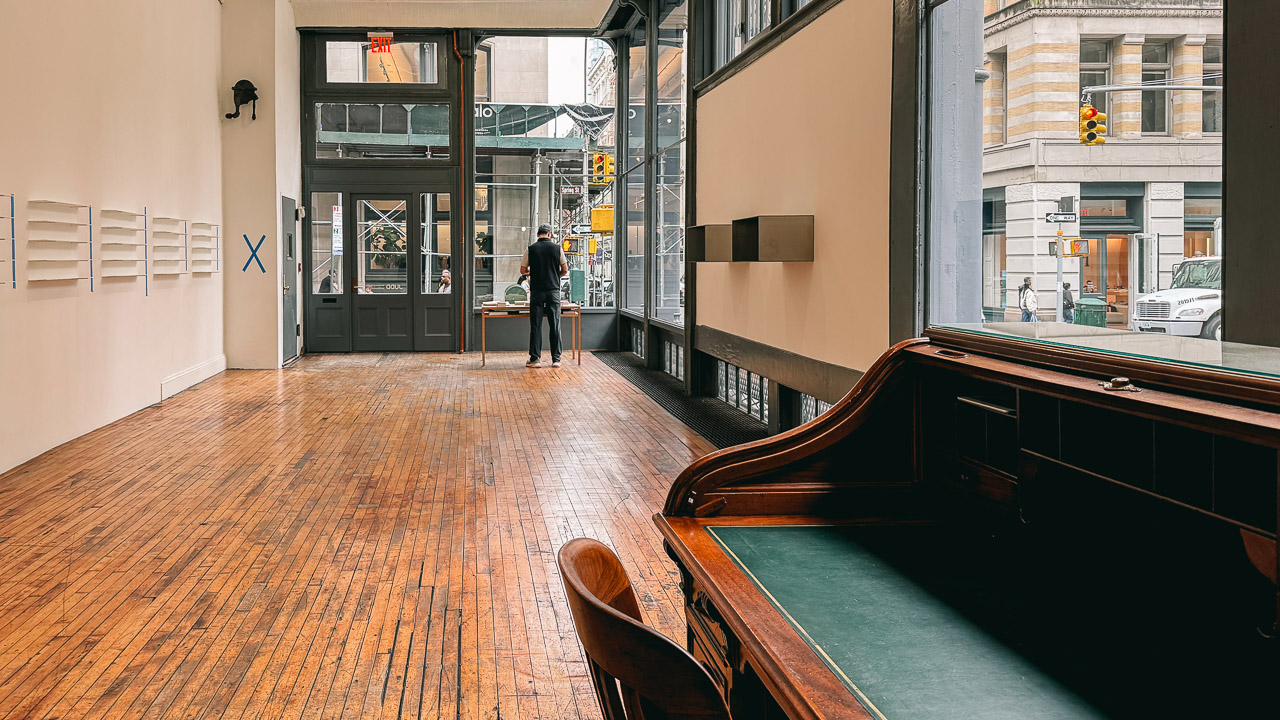
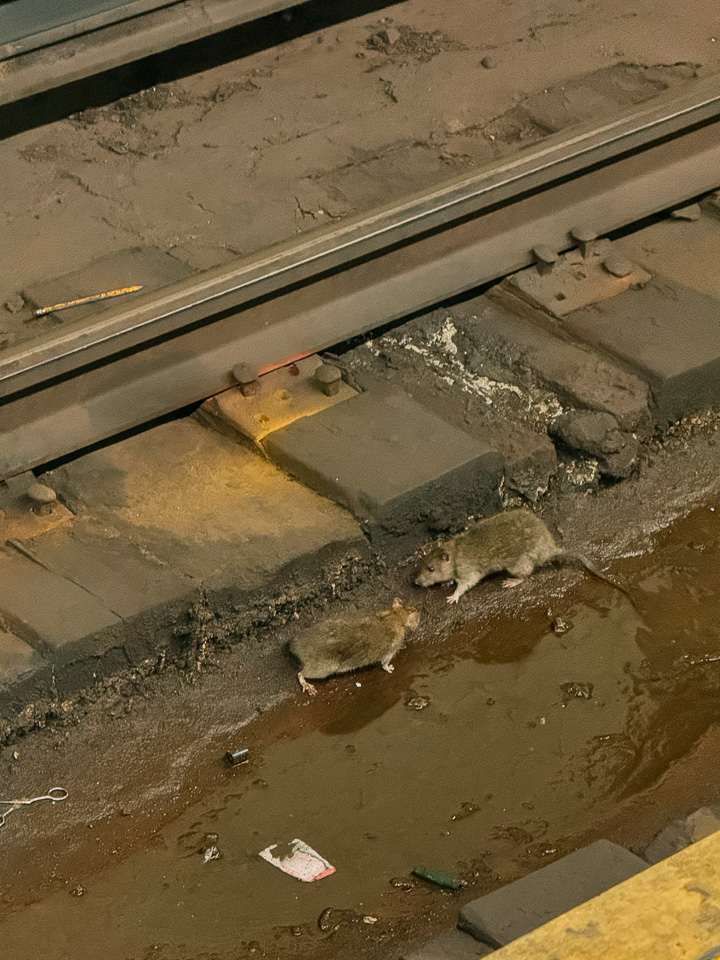
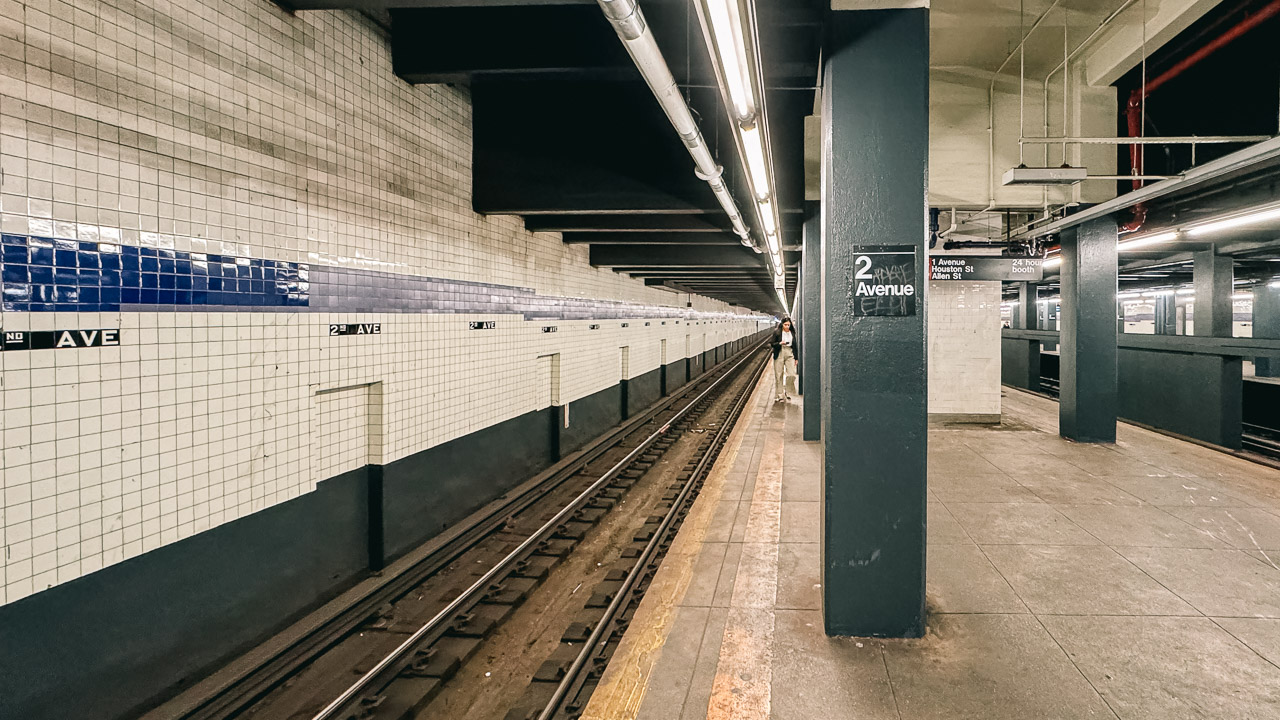
The thing I missed the most from my Ricoh was how discreet it looked. It felt like a toy camera, and people would rarely take it seriously. Bigger cameras quite often scare people, and if you have a thing for street photography when traveling, it’s better to do it with a smaller camera. Street photography with an iPhone is always a joy, because people are used to seeing smartphones around them.
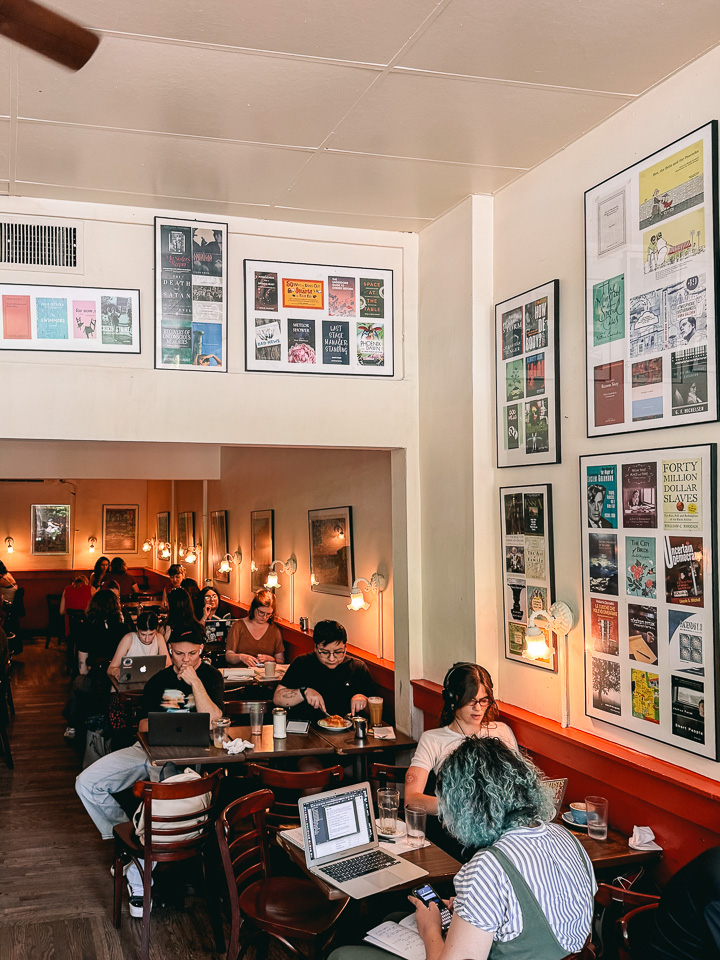
The iPhone feels less intrusive in markets, metro stations, museums, and other places. An iPhone for travel photography doesn’t mean shooting only landscapes. It means to capture local life, candid portraits, a piece of art, your food, and everything that comprises a journey.
iPhone for travel photography: The cons

Obviously, not everything is shiny when it comes to iPhone travel photography. Apart from the steep price of the iPhones, the cons must be mentioned for a balanced approach.
It struggles in low light
In very low light, the iPhone tends to struggle. Despite having good optics, the small sensor size means that if you do travel photography at night with your iPhone, there will be limitations. You can often expect digital noise in your photos. This might be acceptable to most people, but we have to be honest: an iPhone cannot beat a good DSLR in night photography. The latter will produce better-quality images overall.
Sure, post-processing your images can remove some noise and bring them closer to what you need. Still, if night travel shots appeal to you and you want as little noise as possible, then DSLRs or mirrorless cameras will deliver better results.
The battery and storage will become limited when shooting too much
Your battery will drain quickly when you are using your iPhone for travel photos. Sure, the same happens with a camera, but here it will feel more intense. Plus, when you are on the road, your iPhone will also be needed for other tasks: using the map and messaging apps, talking on the phone, searching for travel-related things, and more. The workaround, of course, exists: a power bank. However, let’s be honest: part of the phone’s versatility is lost when you have to connect it to a cable and an external device.

The same goes with the storage. If you keep your settings set to HEIC, you will have enough space for a long time. However, if you shoot a lot of RAW, be prepared to see your space fill up very quickly. Plus, if you shoot a lot of 4K videos, your phone’s storage will fill up faster.
On the bright side of iPhone life, if you are into Apple’s ecosystem, there’s no need to use card readers: you will find your iPhone travel images and videos on your Photos Library, so you can save them locally either to your MacBook or iPad and transfer them to an external hard drive.
iPhone travel photography: when to shoot and when to avoid
After shooting thousands of photos with my iPhone, here’s my conclusion on when it’s a fantastic travel camera and also when you should use your bigger cameras.
Where the iPhone is a fantastic travel camera
I had fantastic iPhone travel photos on my journeys when I used it for:
- When I needed quick and discreet shots; timing and discretion always matter.
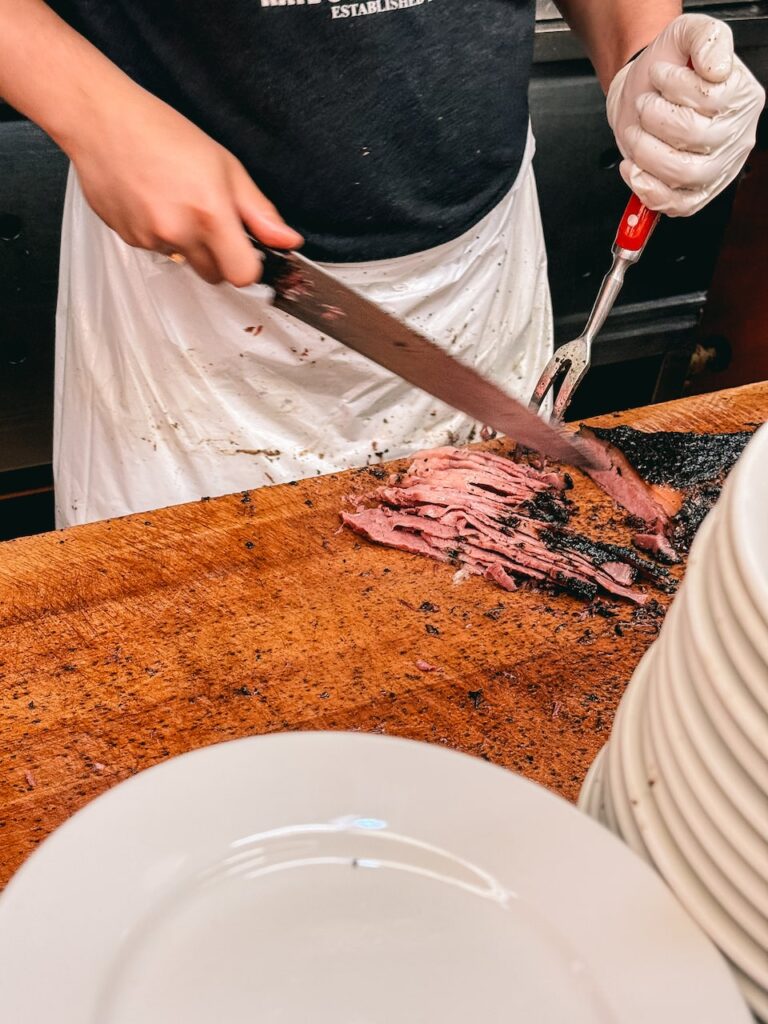
- For occasional food shots that I wanted to present on the blog.
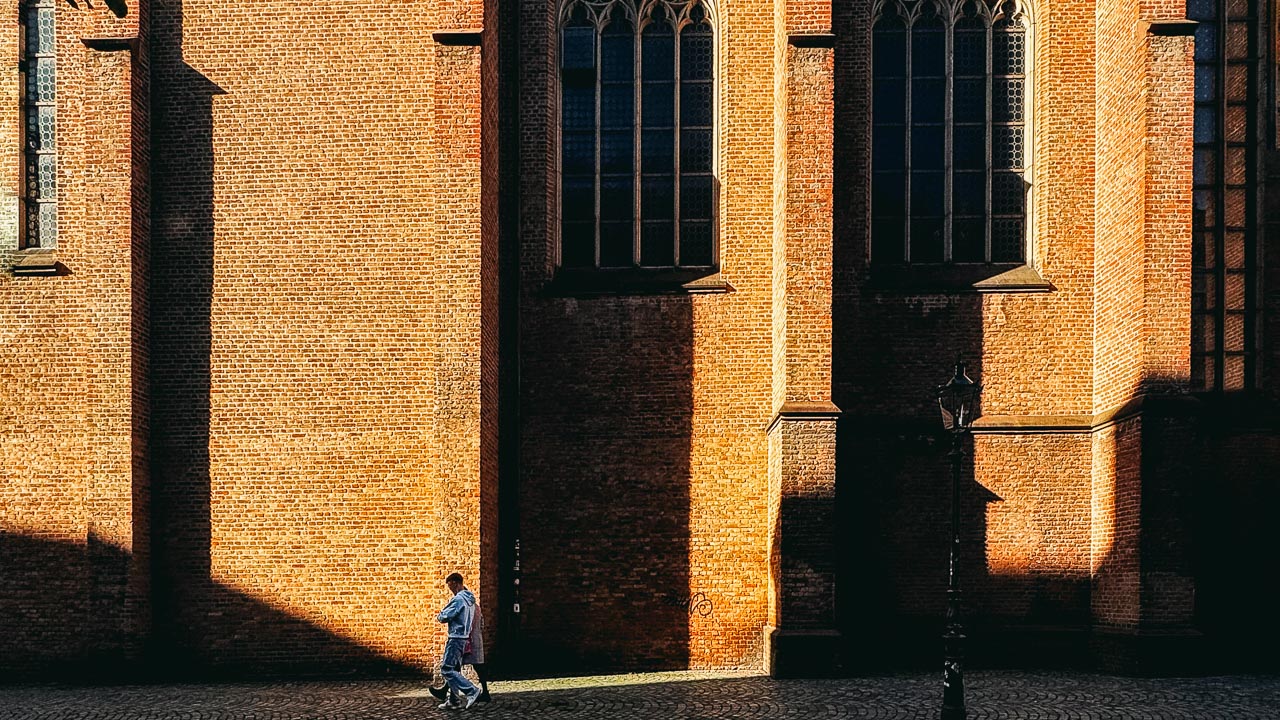
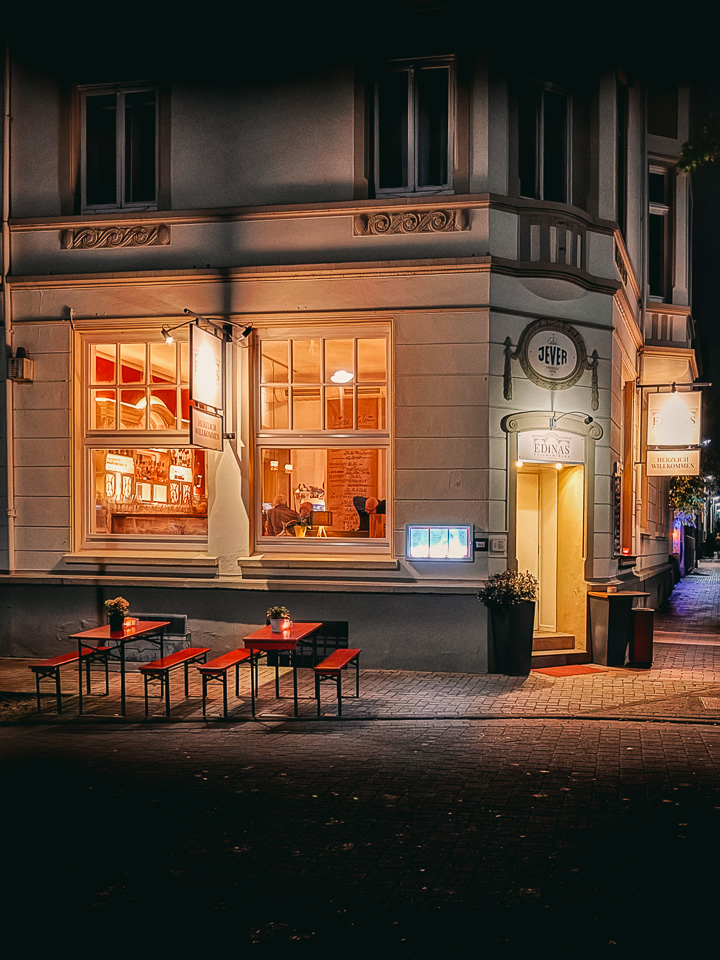
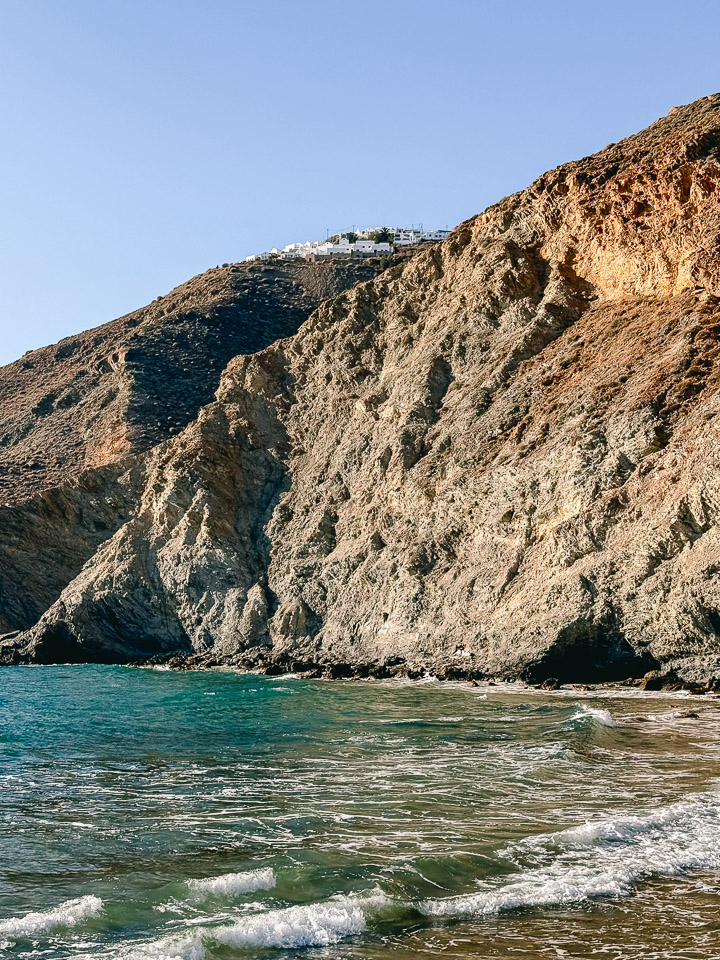
- For photos of well-lit interiors, especially with natural light.
- I also had great results with sunsets (although I don’t shoot that many).
- Night scenes when I was too lazy to set up a tripod.
- Quick videos or timelapses looked great as well.
Where I’d rather have a DSLR instead of my iPhone
On the other hand, here are the instances where an iPhone won’t beat your camera:
- If you need a telephoto lens for distant objects, like football games or safaris. The digital zoom looks artificial for my taste.
- Night shots will have a lot of noise, especially if you are trying them handheld. A tripod and a camera will always produce far superior results.
- Portraits with a shallow depth of field looked decent on an iPhone, but the wonderful creamy look you often envy in others’ photos requires an interchangeable-lens camera.
Quick settings and tips for iPhone travel photography
When it comes to setting up my iPhone for travel photography, I keep it simple. After all, simplicity and versatility are what I appreciate about it, which is why I keep shooting images with my phone.
Unless I want a RAW for any reason, I keep the HEIC 24 MP setting for my photos. For RAW, I’d pick 48 MP, but I use it rarely. Videos are set to 4K, but make sure to back them up at the end of the day to save space; otherwise, your phone’s storage will fill up quickly.
If you are interested in using your iPhone for travel photography, here’s an extra tip: make sure to invest in a model with at least 256 GB of storage, or more if your budget allows. I know that iPhones are already pricey, but if you intend to shoot travel photos, it’s better to have enough space and not mess all the time with external drives. I bought the 512 GB and I still have enough space on my iPhone, but the next time I will probably get the 1 TB.
As for the best iPhone photography apps, I am sure there are tons out there. However, I only use the integrated camera app and do some light post-processing in Snapseed or Lightroom. I mainly work on exposure and highlights, and I rarely touch the saturation. For me, it’s all about the frame and the available light, so I prefer to keep learning rather than heavily edit the images.
The iPhone is a powerful device that excels in photography. And this brings us to the article’s introductory question.
Can you really use an iPhone for travel photography?
Yes, you can use an iPhone for high-quality travel photography. I don’t talk just for nice photos to send to your friends or post on social media. I also mean photos that stand out from the crowd, images that you can print, and pictures that you can host on your travel blog or website.
However, one thing is important here: know the device’s limitations. No matter how good the results look, an iPhone won’t be able to replace a camera. DSLRs and pro cameras have better sensors and far superior optics overall. They also cost significantly more and are bulkier: an iPhone can fit in your pocket, while a proper DSLR bundle will most likely need a backpack.
Whenever I travel for the blog, I always have a mirrorless camera with me. And although I’m often tempted to go iPhone-only, I know that some images must be taken with the camera. You can shoot professional-level travel photos with your iPhone, but there will always be a moment when a camera will make a difference.
iPhone for Travel Photography: Final Thoughts
The majority of the photos you see on my travel blog are taken with the Ricoh GR II (up to late 2023) and the rest with the Sony a6300. However, for more than a year now, I have been adding iPhone photos to every article I publish here. I’m delighted by the quality, and I can easily forecast even more iPhone photography.
On my recent journey to New York City, I shot an NBA game at Madison Square Garden exclusively with my iPhone. Bulky cameras weren’t allowed in the venue, and the iPhone went unnoticed. It was a perfect test for the iPhone: low light, changing light, distance from the court, and movement. Everything that might give an iPhone a hard time and expose its weaknesses was there.
But the iPhone performed exceptionally well in my opinion. I had a lot of keepers and what pleased me the most was the fact I could get quick snapshots of moments that I would probably have missed. However, I believe that a camera would produce better results. Cameras weren’t allowed at MSG, though, and as I wrote earlier, the best camera is always the one you have with you.
More about photography: Of light and shadow, Street photography at night
Pin it for later
Sharing is caring. Share this article about iPhone travel photography with your friends.